
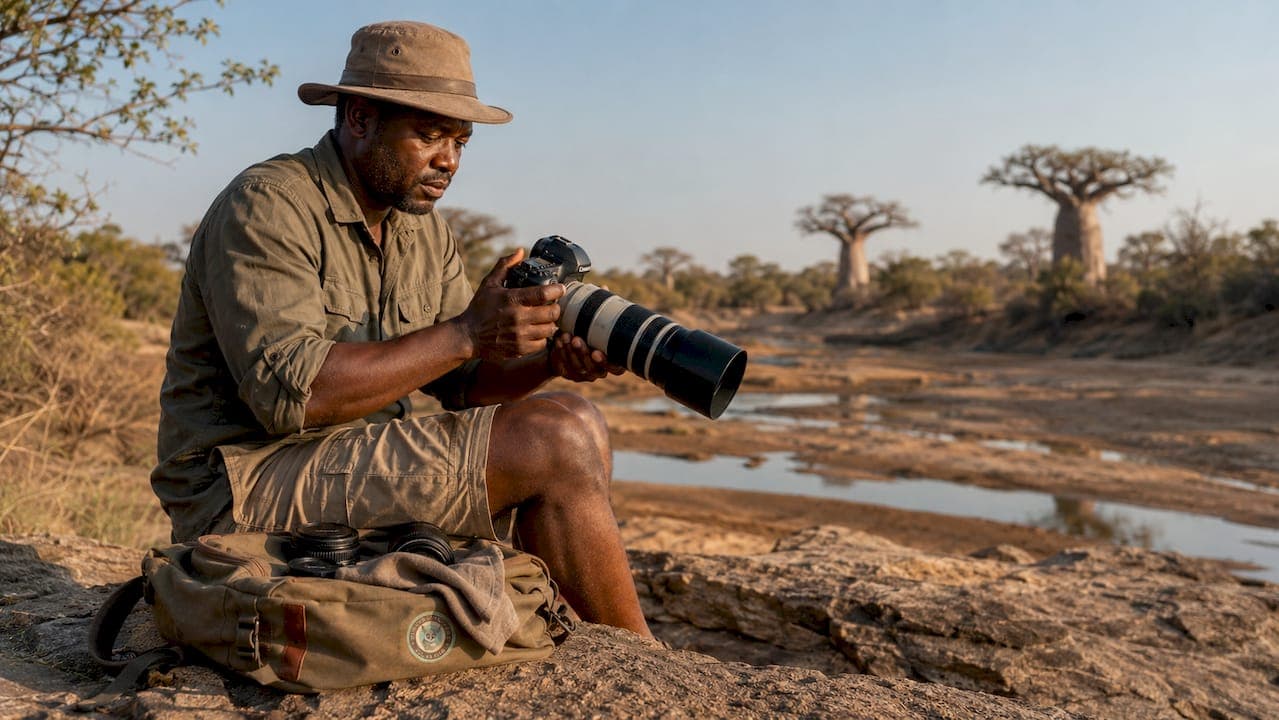
The best photography settings for a bush safari combine a fast shutter speed, a mid-range aperture, and adaptive ISO to freeze wildlife motion and deliver sharp images across constantly changing light. Wildlife photography, the recognized industry term for this practice, demands quick decisions and pre-set baselines. Get those baselines wrong and a charging leopard becomes a blur. Get them right and you walk away with images that stop people mid-scroll. Bushbaby Safaris Zululand guides guests through Hluhluwe-iMfolozi Park and iSimangaliso Wetland Park, two of South Africa's most photogenic reserves, and the advice here reflects what actually works in those environments.
What are the essential camera settings for a bush safari?
The single most important setting on a safari is shutter speed. Recommended base settings start at 1/1000s for most moving animals, rising to 1/2000s or 1/3200s for birds in flight and sprinting predators like cheetahs. A slower shutter speed is the fastest way to ruin an otherwise perfect frame.
Aperture sits in a supporting role. An aperture of f/5.6 to f/8 keeps the subject sharp while rendering the background soft enough to feel natural. For close-up portraits of stationary lions or elephants, drop to f/4 or f/2.8 to isolate the animal from the bush behind it.
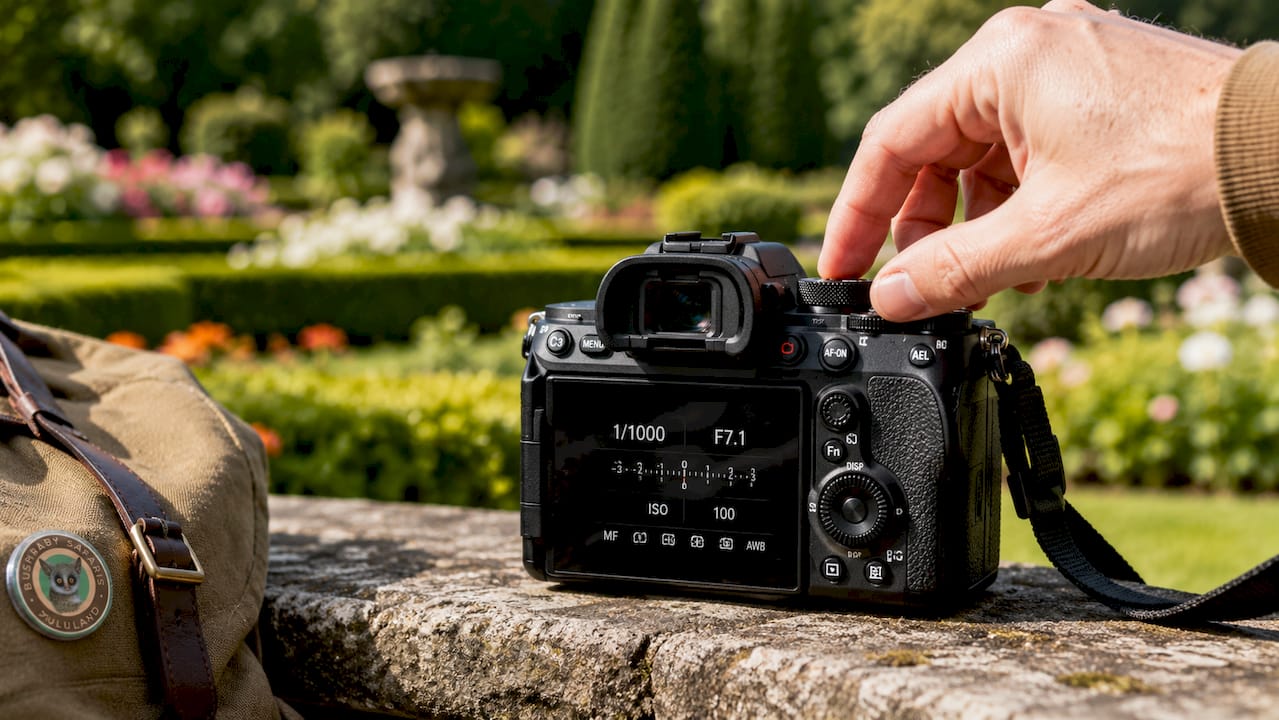
Auto ISO is your best friend in the field. Set a ceiling of ISO 3200 to 6400 and let the camera manage exposure as light shifts. This approach prevents you from manually chasing exposure while an impala sprints across your frame.
Focus mode matters as much as any other setting. Continuous autofocus (AF-C on Nikon/Sony, AI Servo on Canon) tracks moving subjects reliably. Switch to single-point AF for stationary animals where you want precise control over the focal point, such as locking onto an owl's eye in a tree.
Drive mode rounds out the core settings. Burst mode maximizes your chances of capturing the decisive moment in any fast action sequence. A lion mid-leap or a hippo surfacing from water happens in under a second. Burst mode gives you ten frames to choose from instead of one.
Key baseline settings at a glance:
- Shutter speed: 1/1000s minimum for moving animals; 1/2000s–1/3200s for birds and fast predators
- Aperture: f/5.6–f/8 for general use; f/2.8–f/4 for low-light portraits
- ISO: Auto ISO with a ceiling of 3200–6400
- Focus mode: AF-C/AI Servo for moving subjects; single-point AF for stationary animals
- Drive mode: Continuous burst for action; single shot for calm, composed scenes
Pro Tip: Set your camera to Shutter Priority (Tv or S mode) with Auto ISO. This locks in your minimum shutter speed while the camera handles exposure. You stay focused on the animal, not the dials.
Which lenses and gear work best for bush safari photography?
The right lens determines how close you can get to an animal without disturbing it. Telephoto zoom lenses in the 100–400mm or 200–600mm range are the most versatile choices for safari. They handle everything from a distant rhino on an open plain to a kingfisher perched on a reed ten meters away.
A 70–200mm f/2.8 lens serves as an excellent backup. It performs well in low light, covers close encounters when an elephant walks right up to the vehicle, and is lighter to handle during long drives. Carrying two bodies with different lenses mounted saves critical seconds when a scene changes fast.
Stability is a problem most photographers underestimate. Tripods are impractical on an open safari vehicle. A beanbag placed on the vehicle's door or roof rail absorbs vibration and supports heavy telephoto lenses without restricting movement. It is one of the most effective and affordable pieces of safari photography gear available.
Mirrorless cameras offer a meaningful advantage over DSLRs in the field. Their silent shooting modes avoid startling animals, their electronic viewfinders show real-time exposure, and their autofocus systems track subjects with impressive accuracy. That said, a well-configured DSLR still produces outstanding results.
Essential gear checklist:
- Primary lens: 100–400mm or 200–600mm telephoto zoom
- Backup lens: 70–200mm f/2.8 for low light and close encounters
- Stability: Beanbag for vehicle-mounted shooting
- Power: At least two spare batteries per body; game drives run 3–6 hours
- Storage: Multiple large-capacity memory cards (64GB or larger)
- Protection: Dust covers and a dry bag for lenses and bodies
| Gear Item | Why It Matters on Safari |
|---|---|
| 100–400mm telephoto zoom | Covers most animal distances from a vehicle |
| 70–200mm f/2.8 backup | Handles low light and unexpected close encounters |
| Beanbag | Stabilizes heavy lenses without a tripod |
| Spare batteries | Long drives drain power faster than expected |
| Large memory cards | Burst mode fills cards quickly during action sequences |
Pro Tip: Bring a rocket blower and a microfiber cloth. Dust is relentless in African game reserves. A dirty front element kills image sharpness faster than a wrong setting.
How do you adapt settings for different light and animal behavior?
Light on a safari changes dramatically within a single morning. Golden hour delivers warm, directional light that enriches animal colors and creates depth. It also coincides with peak animal activity, which makes it the most productive window for wildlife photography. Plan your game drives around it.
Early morning light is dim but beautiful. ISO settings of 800–1600 suit this period well. As the sun climbs and light intensifies, drop ISO progressively to keep noise low. By mid-morning, ISO 400 or even 200 may be sufficient in open grassland.
Harsh midday sun creates flat, unflattering light and deep shadows. Animals also rest during this period, reducing action opportunities. Use this time to photograph textures, close-up details, and stationary subjects. Slow your shutter speed slightly and stop down to f/11 for sharp detail shots of a tortoise or a sleeping lion.
Adapting to animal behavior requires a different mindset for each scenario:
- Stationary animals: Use single-point AF, f/5.6–f/8, and a shutter speed of 1/500s or faster
- Walking animals: Switch to AF-C, maintain 1/1000s, and track the eye
- Sprinting predators: Push shutter speed to 1/2000s–1/3200s and use wide-area AF tracking
- Birds in flight: Use 1/2000s or faster, continuous burst, and pre-focus on a perch before the bird takes off
Lighting direction shapes the mood of every image. Front light (sun behind you) produces even, well-exposed animals. Side light creates texture and drama. Backlight silhouettes animals against a bright sky, which works beautifully at sunrise and sunset. Each direction calls for a different exposure compensation adjustment.
Repositioning the vehicle with your guide's help changes the background and light angle without disturbing the animal. A cluttered thornbush background becomes open sky with a 10-meter vehicle shift. Always communicate your photographic goals to your guide.
How to set up your camera quickly and efficiently on a game drive
Preparation before the drive starts is non-negotiable. Camera readiness before the vehicle moves prevents the most common mistake in safari photography: missing the first sighting because your lens cap is still on. Set approximate base settings the night before.
Follow this sequence every morning before departure:
- Mount your primary telephoto lens and attach the camera to the beanbag
- Format your memory card and confirm it is empty
- Set shutter speed to 1/1000s, aperture to f/6.3, and Auto ISO with a ceiling of 3200
- Select AF-C focus mode and continuous burst drive mode
- Check battery level and load a fresh one if below 50%
- Set white balance to Auto or Cloudy for warm early morning tones
Once the drive begins, resist the urge to constantly adjust settings. Frequent changes slow your reaction time. Instead, make one adjustment at a time as conditions shift. If light improves, lower ISO. If an animal starts running, increase shutter speed. Keep changes minimal and deliberate.
"The photographers who come back with the best images are rarely the ones with the most expensive gear. They are the ones who had their camera ready before the vehicle stopped."
Pro Tip: Assign your most-used settings to custom function buttons. On most mirrorless and DSLR bodies, you can map ISO, focus mode, or drive mode to a single button press. This cuts adjustment time from five seconds to one.
Early morning game drives in Hluhluwe-iMfolozi Park and iSimangaliso Wetland Park offer the best combination of golden light and active wildlife. Having your camera pre-set means you spend the drive photographing, not fumbling with menus.
Key Takeaways
The single most effective approach to bush safari photography is to pre-set your shutter speed, aperture, ISO, and focus mode before the drive begins, then adapt each setting deliberately as light and animal behavior change.
| Point | Details |
|---|---|
| Shutter speed is the priority | Use at least 1/1000s for moving animals; push to 1/3200s for fast action. |
| Auto ISO with a ceiling | Cap Auto ISO at 3200–6400 to balance noise and exposure across changing light. |
| Continuous AF for moving subjects | AF-C or AI Servo tracks animals in motion far more reliably than single-shot AF. |
| Beanbag over tripod | A beanbag stabilizes telephoto lenses on safari vehicles where tripods are impractical. |
| Prepare before the drive | Pre-set your camera the night before to avoid missing the first sighting of the day. |
What I've learned about safari photography that most guides won't tell you
Most photography guides tell you to get the settings right. What they don't tell you is that the settings are the easy part. The hard part is patience, and most photographers underestimate how much of it safari photography demands.
I've watched guests arrive with top-tier gear and leave frustrated because they expected constant action. A bush safari is not a wildlife film set. Animals rest, hide, and move unpredictably. The photographers who return with extraordinary images are the ones who stay calm, stay ready, and resist the urge to lower the camera between moments.
The advice I give every guest is this: accept noise, reject blur. A sharp, slightly grainy image beats a clean, blurry one every single time. Raise your ISO. Keep that shutter speed high. You can reduce noise in post-processing. You cannot recover motion blur.
The other thing I've learned is that your guide is your greatest photographic asset. Communicating your goals to your guide, whether you want a cleaner background, better light, or a different angle, produces better images than any camera setting. Guides at Bushbaby Safaris Zululand know Hluhluwe-iMfolozi Park and iSimangaliso Wetland Park like the back of their hands. Use that knowledge.
Finally, put the camera down occasionally. Some unforgettable safari moments are better absorbed through your own eyes than through a viewfinder. The memory of a lion walking past your open vehicle at arm's length does not need a photograph to last a lifetime.
— Larni
Photography-ready safaris with Bushbaby Safaris Zululand
Bushbaby Safaris Zululand runs open vehicle safaris from accommodations in St Lucia and Hluhluwe into two of South Africa's most wildlife-rich reserves: the Big 5 Hluhluwe-iMfolozi Park and iSimangaliso Wetland Park, South Africa's first UNESCO World Heritage Site. Both parks offer extraordinary photography conditions, from golden-lit grasslands to wetland bird life that fills a frame with color.
Expert guides position the vehicle for the best light and angles, and they welcome photographers who want to slow down and work a scene properly. Whether you are after your first Big 5 image or a frame-worthy bird-in-flight shot, the standard safari packages and explorer safari options give you the time and access to make it happen. Book your drive and bring your camera ready to shoot.
FAQ
What shutter speed should I use for safari wildlife photography?
Use a minimum shutter speed of 1/1000s for most moving animals. For fast subjects like birds in flight or sprinting predators, increase to 1/2000s–1/3200s.
What is the best lens for a bush safari?
A telephoto zoom in the 100–400mm or 200–600mm range covers most safari scenarios. A 70–200mm f/2.8 works well as a backup for low-light conditions and close encounters.
Should I use Auto ISO on safari?
Auto ISO with a ceiling of 3200–6400 is the recommended approach. It lets the camera manage exposure as light changes while you keep your attention on the animal.
How do I stabilize my camera on a safari vehicle?
A beanbag placed on the vehicle's door or roof rail is the most practical stabilization method. Tripods are impractical and unsafe on open safari vehicles.
When is the best time of day for safari photography?
Golden hour, the first and last hour of daylight, produces the richest light and coincides with peak animal activity. Early morning drives in reserves like Hluhluwe-iMfolozi Park deliver the best combination of light quality and wildlife sightings.